Replacement pads for Witchcraft boards can be bought from our web shop. There are 2 types old (rounded) and new (squarer) in 2 sizes. Please make sure you order the right type.
Peel off the old pad or use a cutter if it is stuck down too well. Remove any loose bits and rests of pads that are uneven. It is not necesary to remove remaining glue if it is stuck down well. Also, if the board has heel cushions, leave them on the board, just remove the pad on top.
To place the new pad:
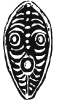
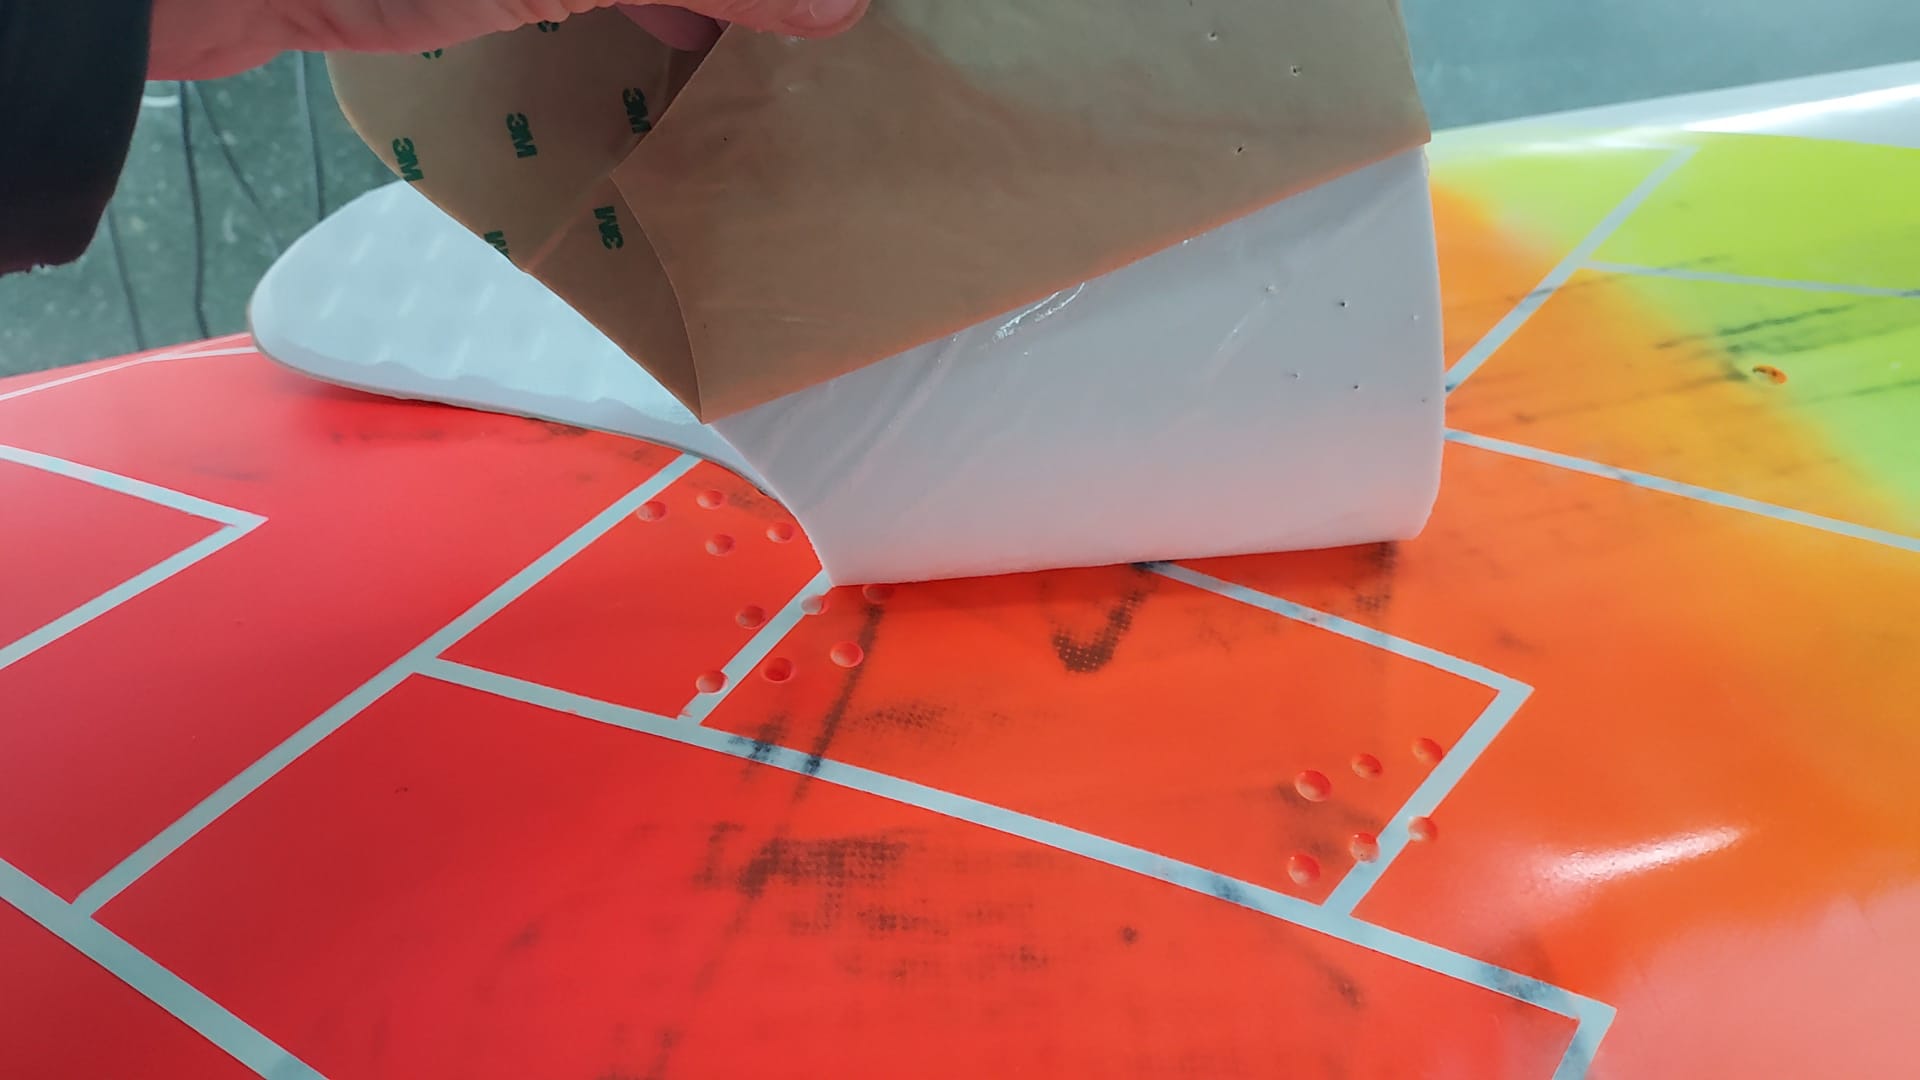
Step 1: Remove a strip of the backing paper of the 3M autoadhesive.
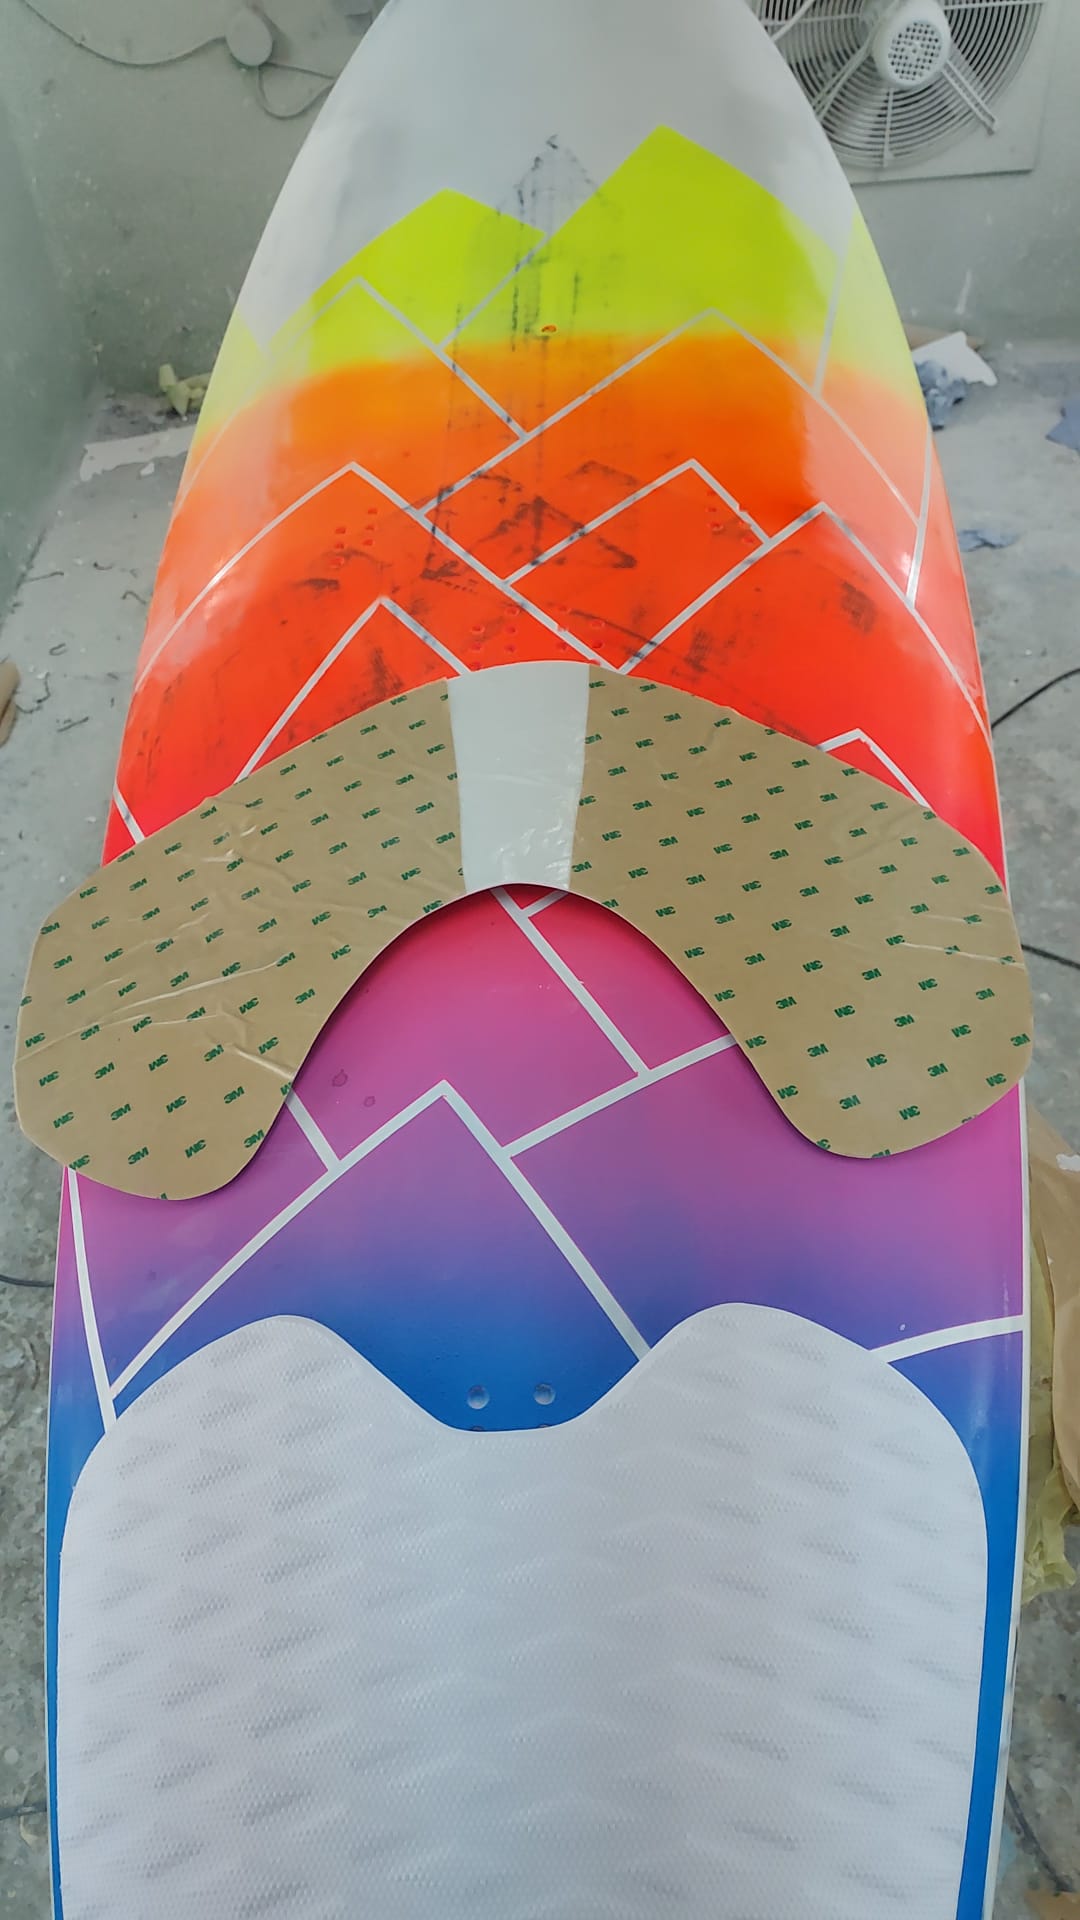
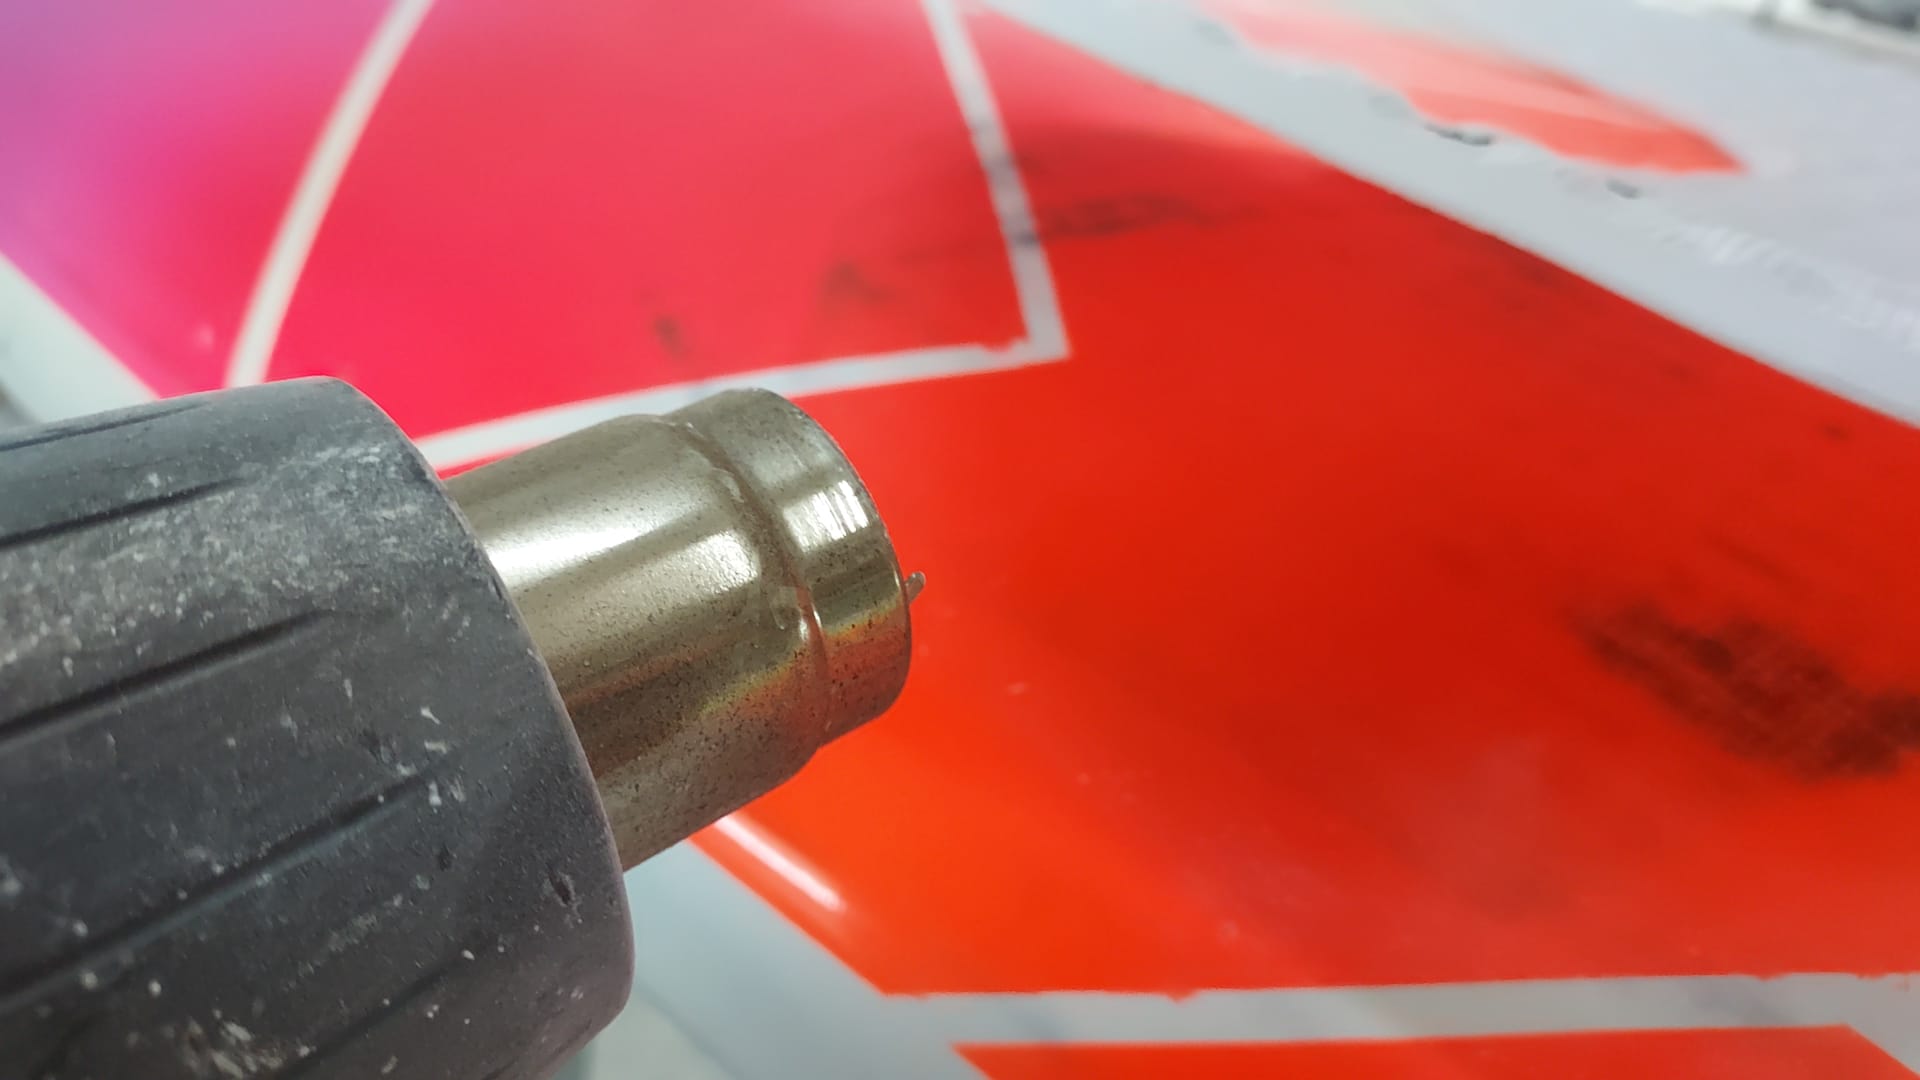
Step 2: Warm the glue and the board to activate the glue.
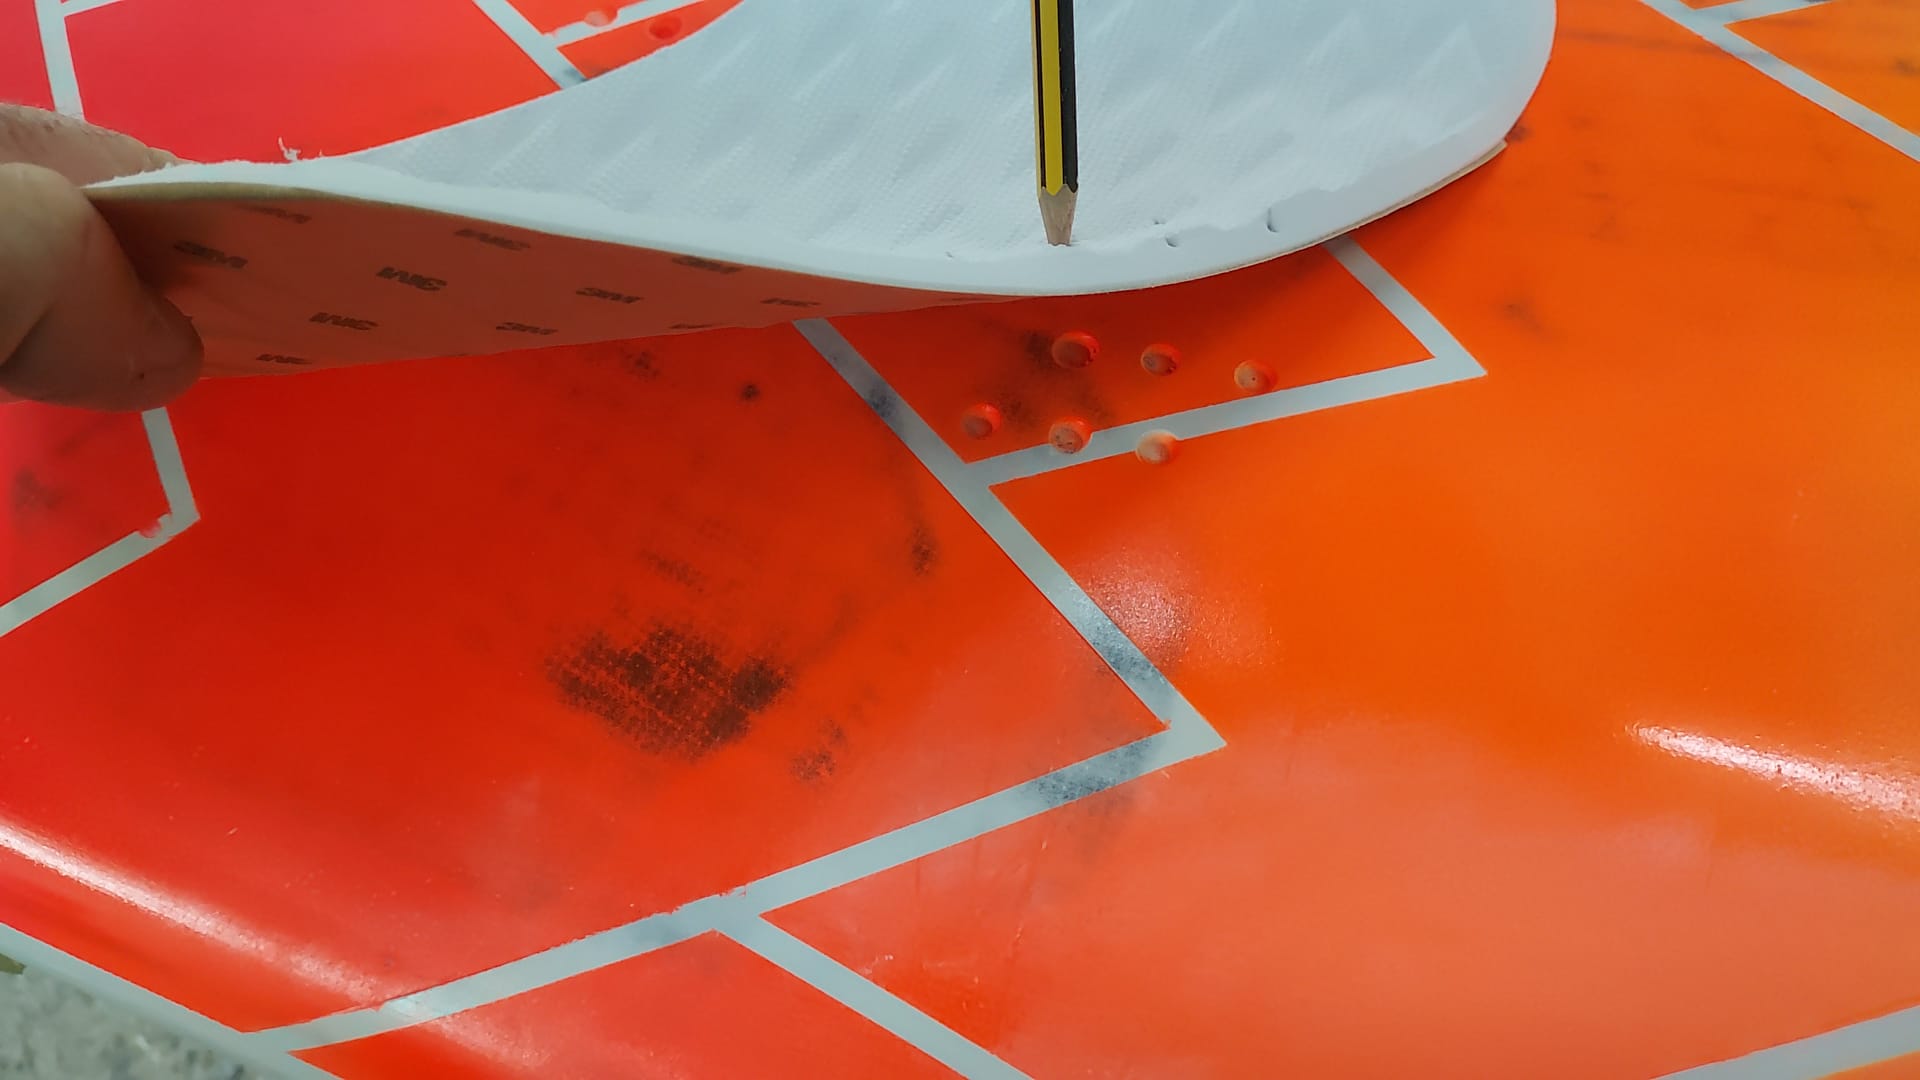
Step 3: place the pad in the correct position. If needed make some marks on the pad and board with a pencil before removing the backing paper. Press or hammer it down with a rubber hammer or your fist.
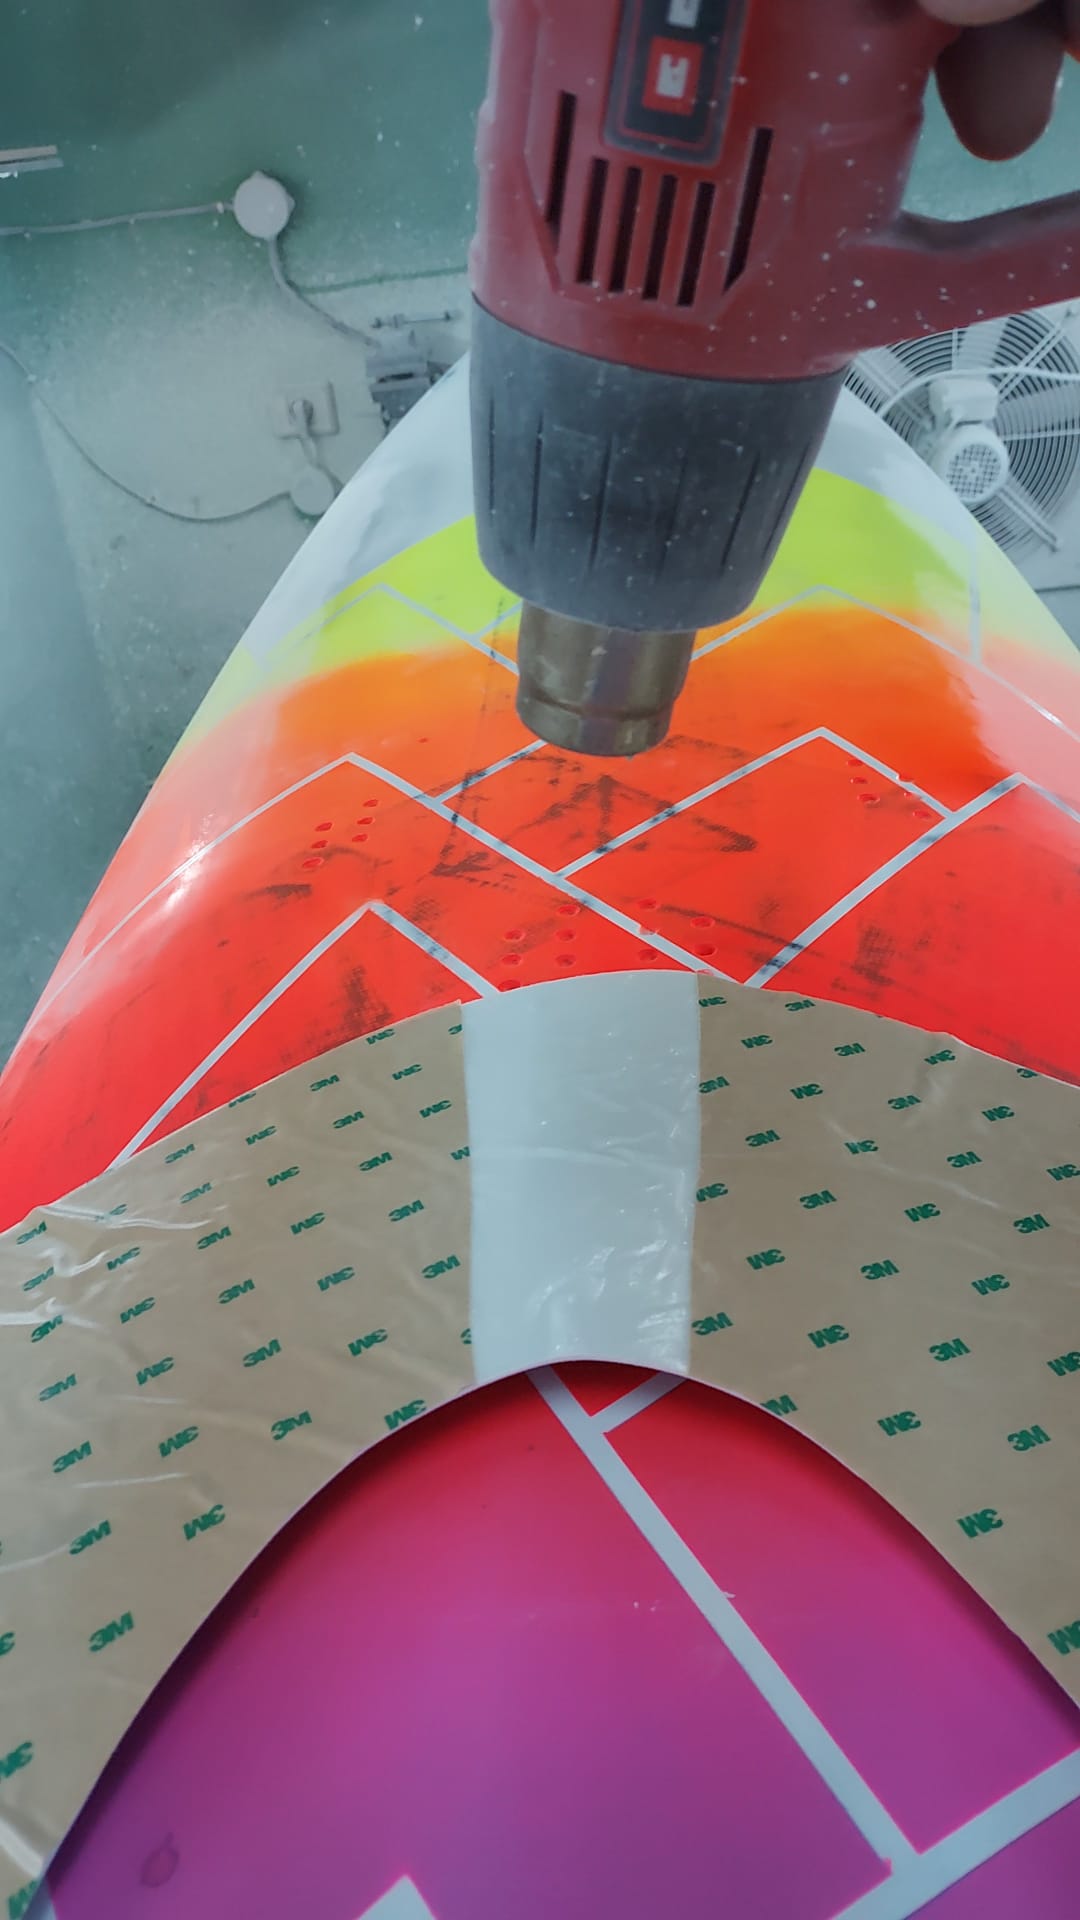
Step 4: Mark the foot strap plug through the pad with a pencil. This step does not necesarily have to be done with the back pad as the plugs do not disappear entirely under the pad.
Step 4: Pull away the remaining backing paper.
Step 5: warm up the glue and board. Warmth activates the glue better.
Step 6: Press or hammer the remaining pad down with special care for the edge.

Step 7: Use a Dremel with conical grinding stone to open the holes for the foot strap plugs and side fin boxes. Drill any glue, pad rests or other debris like sand (on a used board) from the plugs with a 4mm drill bit. Do not drill the holes any deeper, if needed make a mark on the drill bit with tape at 22mm.